Apricot Sultana Chutney
I may have come slightly obsessed with canning. Boiling water, glass and hot metal would normally be associated with danger and fear but for some reason, when these elements are employed in the processes of preserving, I find it all very relaxing. There is something very rhythmic and orderly about preserving. Yet it is unpredictable at the same time. A transformation happens, as you cook down your preserve, and you wonder,
"What will this be like in a few months?"
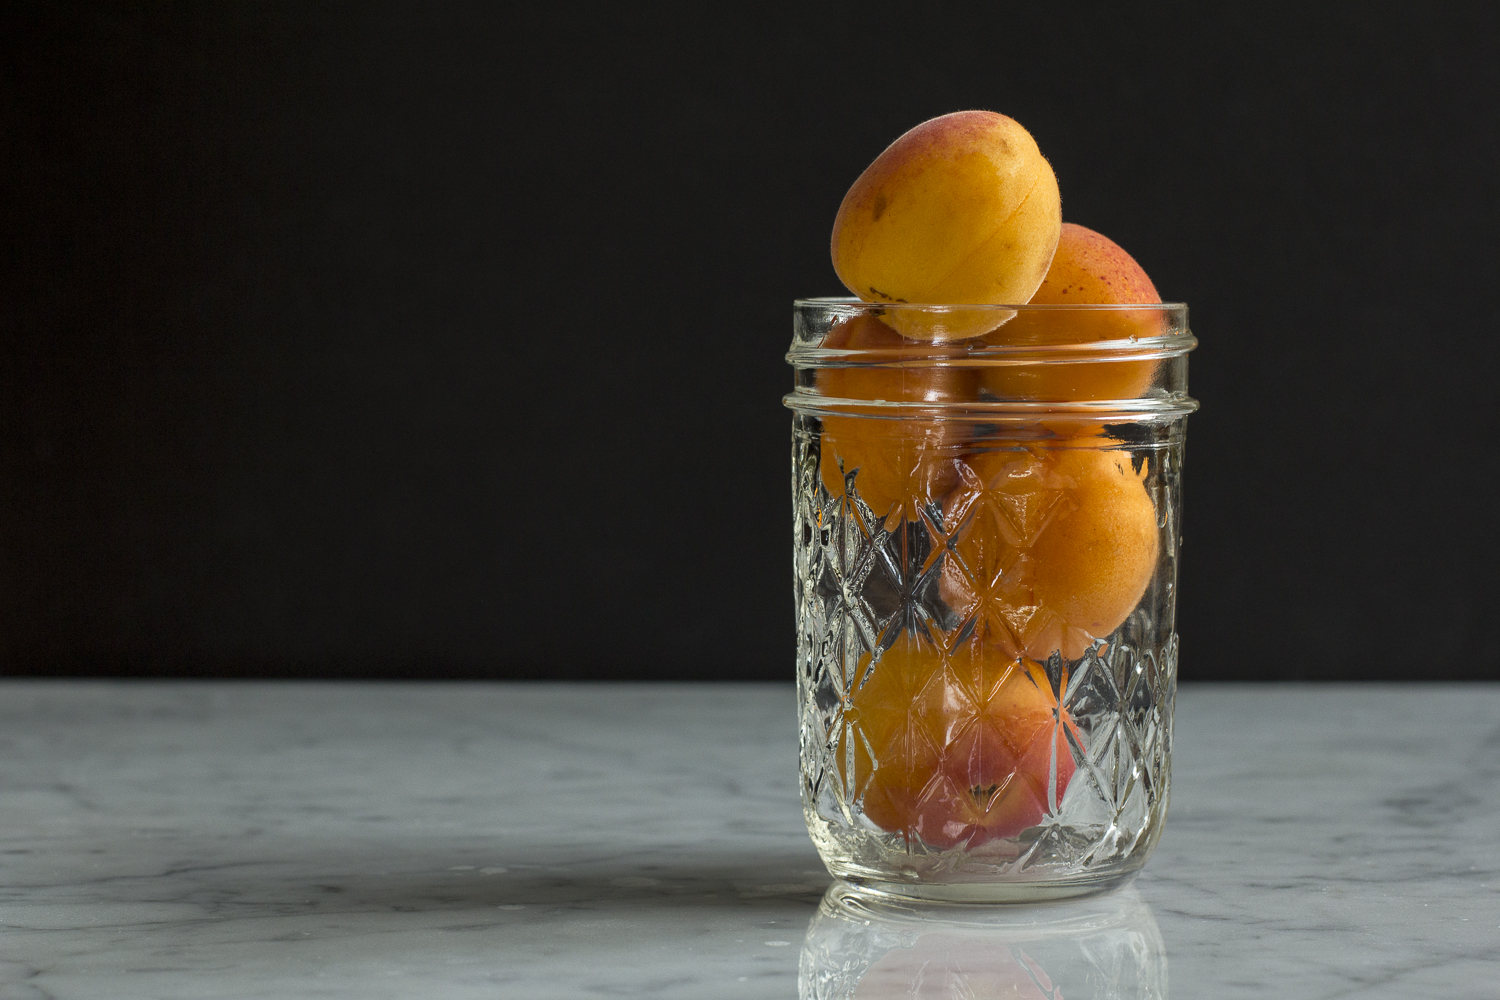
What can I say? I'm hooked. When I troll the farmer's markets these days I'm looking for anything that I can stuff into a jar. When I saw these amazing apricots I began dreaming up something I could do with them.

While apricot jam would be the obvious and assuredly delicious choice, to be honest, I'm not a huge jam consumer. (If we are talking marmalade, that's a different story).
In this instance, something more savoury appealed. G and I had made a tomato relish earlier this month and I liked the process, and the results, so I thought a chutney might be more on track. I will look forward to eating this with a beef curry recipe I often make during the winter.
I found a recipe on Canadian Living that I liked the sounds of, but I fancied a slightly spicer version so I altered the spices a bit, increasing the cayenne pepper called for in their recipe and using turmeric and cloves along with the cinnamon and ground coriander.

The preparation couldn't be easier. The most difficult task is to chop the apricots. And that's not hard. Invite a friend to make this with you and you'll save yourself some work and have a fun time too.


The ingredients all get put into one pot and heated. C'est tout! After my chutney had cooked down, I tasted it and decided it still needed a little something. I liked the idea of adding some smoky flavour and even more spice so I added some Pimentón Picante (Spicy Smoked Paprika). That said, the flavour mellows out a lot, so there is just a touch of nice heat combined with the sweetness.

This chutney smells absolutely amazing while it cooks. After you bring the ingredients to the boil, you will have a lovely hour and half of beautiful, sweet, spicy fragrance filling up your kitchen.


I made this about mid August, and yes I should have waited, but I've already tried some. And I'm liking it. If I'm being completely honest, whenever I'm canning, I secretly hope that one or two jars won't seal during the water bath because then I'll get to pop them in the fridge and eat them sooner rather than later. I also like comparing how things change as time goes on. Hope you enjoy this.

Apricot Raisin Chutney
1 kg (9 1/2 cups) fresh chopped apricots
165 grams (1 cup) red peppers
165 grams (1 cup) sultanas
130 grams (1 cup) chopped red onion
416 grams sugar (2 cups)
2 tsp mustard seeds
1/2 tsp each of:
cinnamon
ground coriander
salt
1/4 tsp each of:
cayenne pepper
turmeric
ground cloves
smoked paprika (optional)
This recipe makes 8 - 125ml jars which I feel is a good size for gifts or for use in a short time once opened. Chop the apricots and add to a large heavy bottomed pot with all of the other ingredients. Turn on the heat to high and bring the mixture to the boil. Once the mixture comes to the boil, reduce the heat and keep it simmering for about an hour until all the apricots have dissolved into the mixture and it is suitably thick. What is suitably thick? I say that is up to you, but if you want to get technical, use the chilled plate method to test the chutney. Spoon a small amount onto a chilled plate and let stand for a few seconds. Then tilt the plate and make sure the chutney runs slowly. The hour cooking time is a guideline only. Keep an eye on it and keep checking. I ended up cooking mine down for and hour and a half. Once the chutney is done, it's time to can. Just before you are ready, put your lids in a pan of hot (not boiling) water and sterilize your jars in boiling water. (Have the water close to boiling beforehand so you can time everything just right). Remove the jars from the boiling water and set on a wooden board or a countertop covered with a cloth. (You want to avoid a hard surface that could damage the glass jars). While both the chutney and jars are still hot, fill the jars leaving 1 cm headspace. Wipe the edge of the jars with a clean cloth and place the lids on top, securing the bands to what is called fingertip tight. To do this. I place the index finger of my left hand in the centre of the lid and then with a light touch, secure the band with just my thumb and second finger. This will make the band, just tight enough, to allow the expansion that will happen during the water bath. With a set of canning tongs, lift the jars into a boiling water bath. The water must completely cover the jars. The water temperature will descent with the addition of the jars. Once the water has reached the boiling once again, leave the jars in the water bath for 15 minutes. Once the time has elapsed, remove the jars from the water to the wooden board. The lids should pop and curve down very quickly (2-3 minutes) indicating that the jars are sealed. Refrigerate any jars that do not seal and use within about 2 weeks. Put the rest away and use them up within 6 months.

